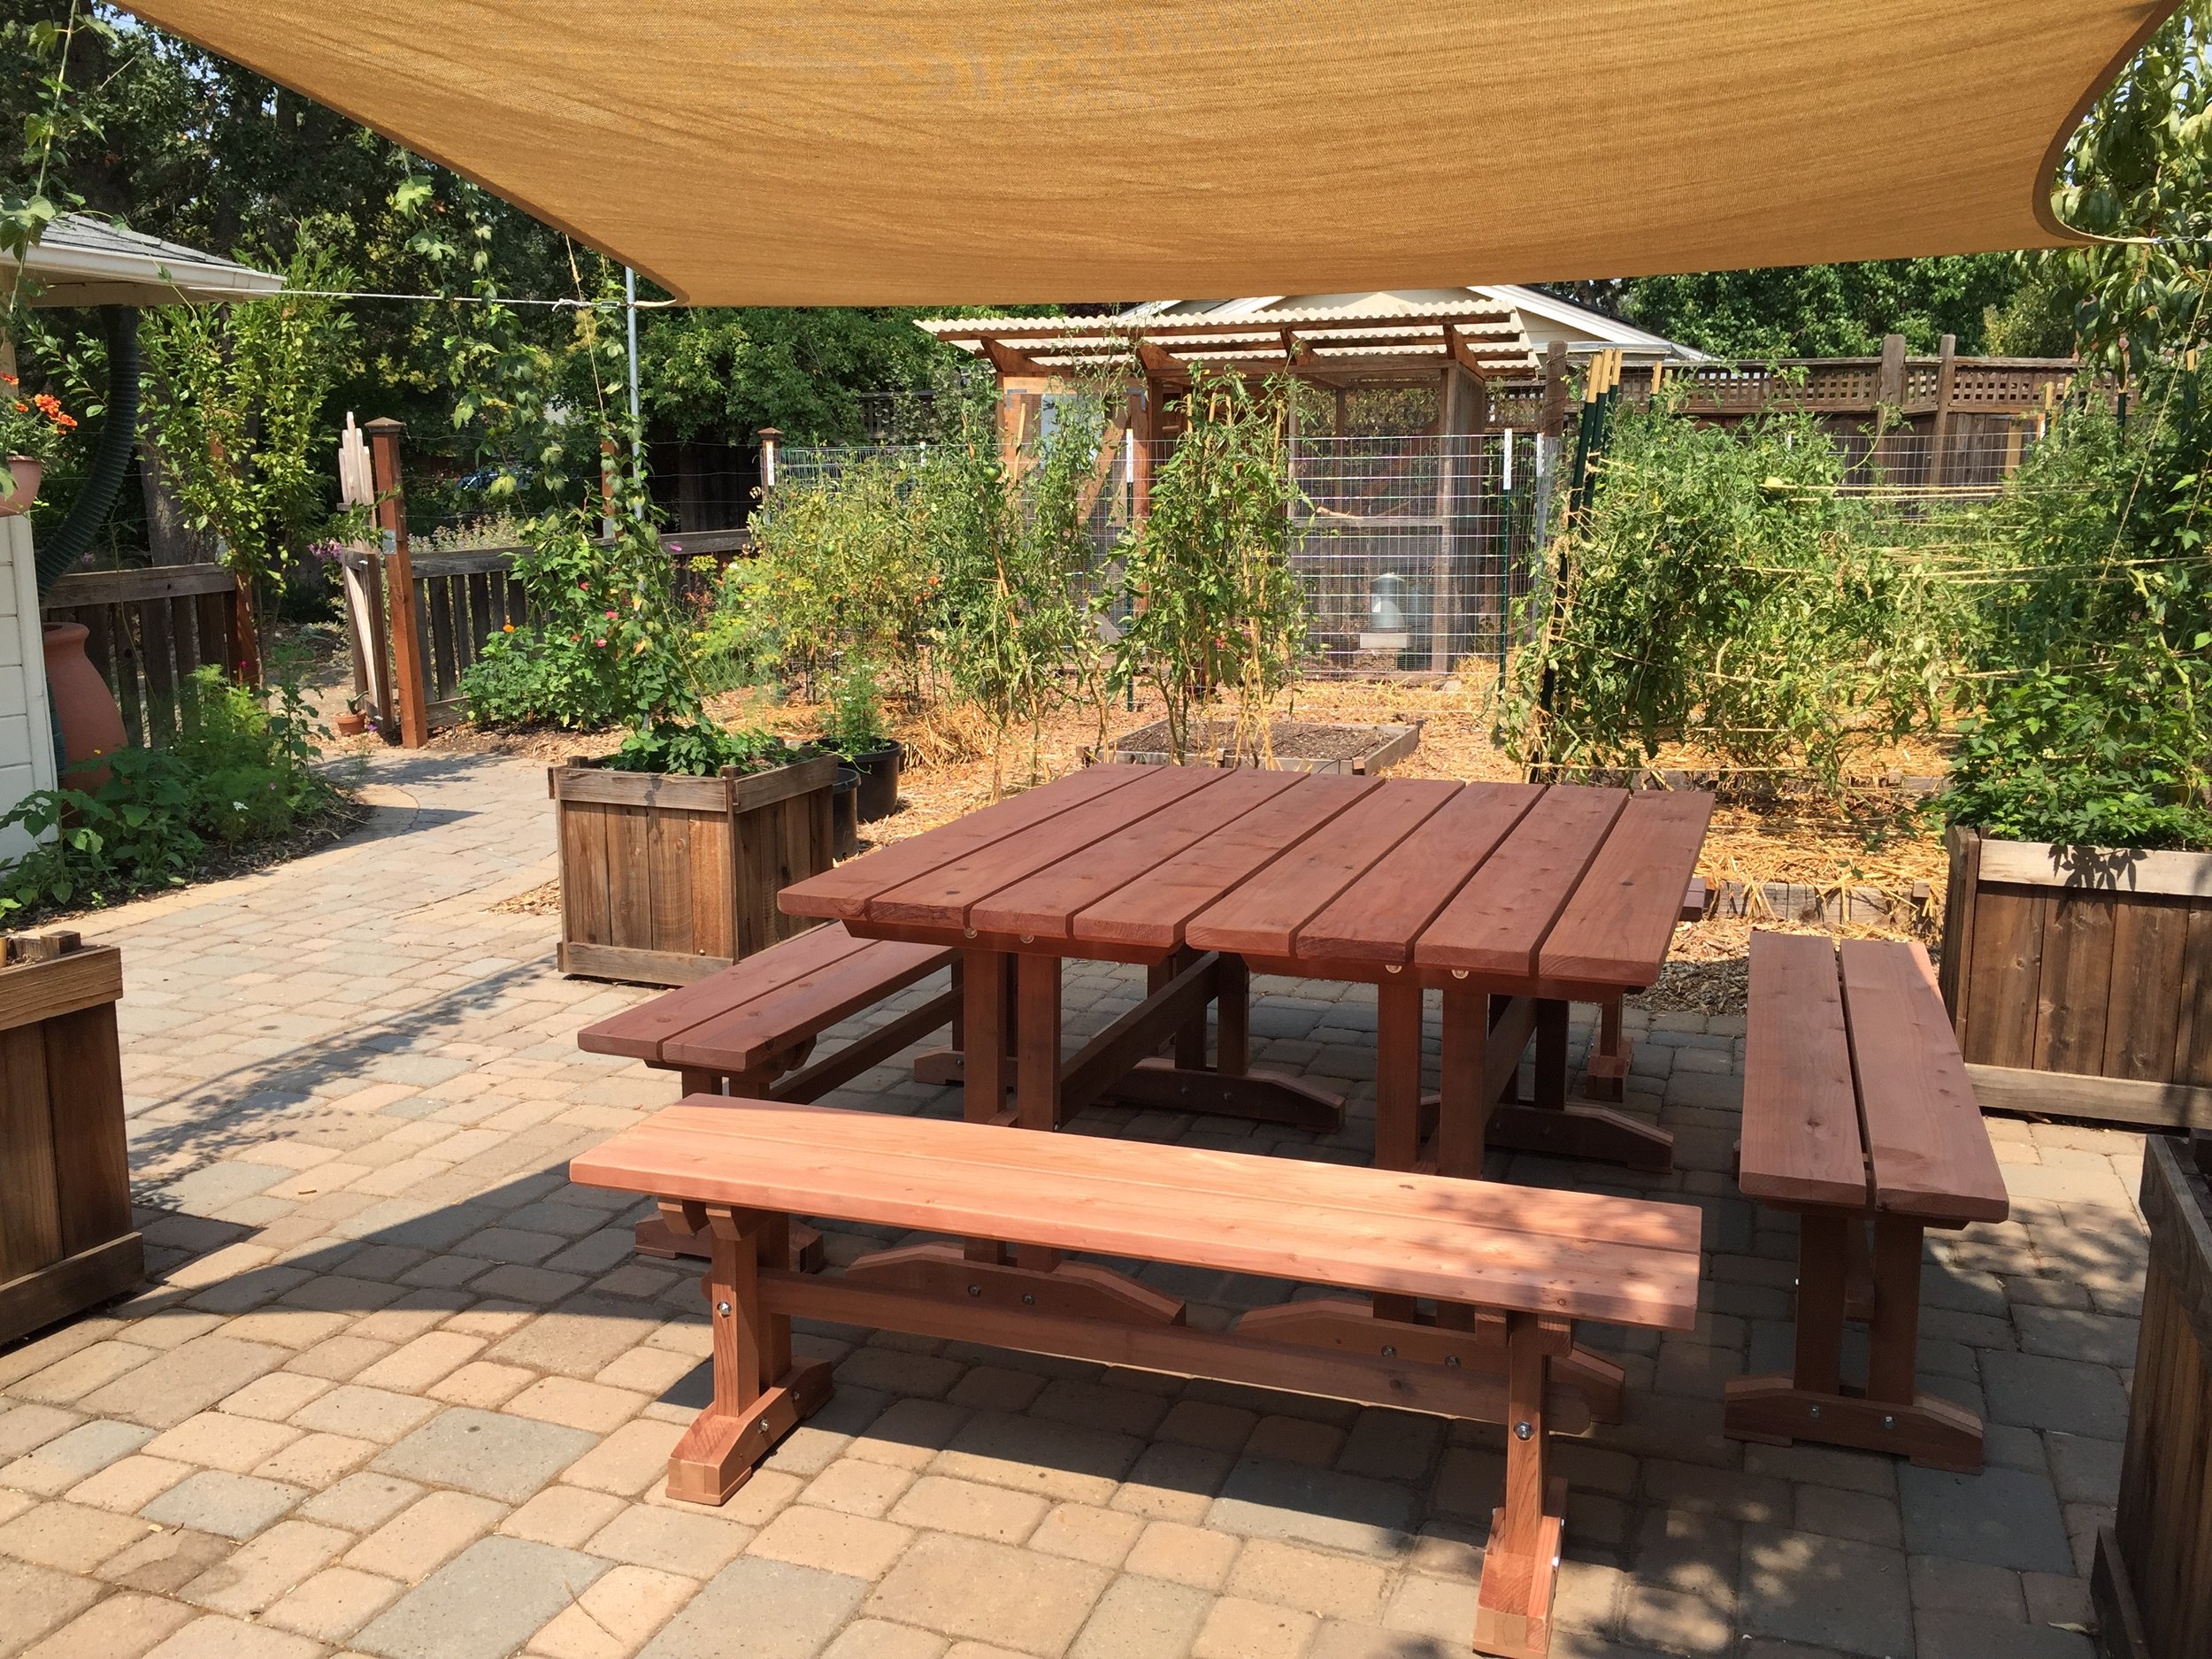
Back in the summer of 2017, Tom asked my father to teach him how to make a farm table for our back patio. They made it together out of redwood, and when it came home, it was beautiful.
The table and benches have been outdoors for two years now, and we use them almost daily - really, every day unless it’s raining. The tables get no protection other than the shade sail that you see in the above picture, and that’s only up in the summer. It gives scant shade, enough to eat or work at the table without getting sunburned. Otherwise, the table is open to the elements. After two years of that, the furniture was looking pretty worn out. The redwood had weathered to a lovely grey, but the wood was dry and unprotected.
Growing up the daughter of a woodworker, I had seen the summer oiling ritual play out every year, but somehow I avoided actually performing this chore myself. We have other outdoor furniture that I have never oiled. Once in a while my dad does it for me, or Tom does it. But really, this is a job I knew I should be handling myself, especially in the summer when I am out of school and am available for projects. So, Adam helped me move the farm table and benches out to the driveway (a surface we don’t care about messing up), and after putting on my ‘painting’ clothes, I armed myself with paintbrush, shop towels, and Penofin, and spent a cool morning working on protecting these priceless pieces of furniture.
Penofin is the product my dad recommends for any piece of furniture that’s going to be outside, especially if it’s in the sun, as it has some UV-blocking attributes. I used the Penofin that is formulated for redwood. It is made from the seeds of the Brazilian rosewood tree. I don’t know how sustainable that is, but the company assures us that no trees are ever cut down to provide the oil.
There are some steps you should take before oiling your furniture. One is to wash the pieces you will be oiling. I did this with a rag and water, the day before oiling. Dad also recommends giving the furniture a light sanding, as the wood will then take the oil better. Apply the oil in a thin layer with a brush, and then let it sit for 20 minutes to soak in. If your wood is really dry, it might need more than one coat (or multiple coats). After oiling and letting it sit for the requisite 20-30 minutes, wipe off the excess with rags or shop towels. CRUCIAL NOTE: whatever you wipe with cannot just be put in the trash can, as oily rags/towels can self-combust. The company recommends soaking them in a bucket of water, which you can do until your trash pick-up day, moving the sodden material to your trash can. The problem then is, what to do with the soaking water? Our street drains go right to our Bay, so I wouldn’t want to put this oily water down that drain. I suppose you could put it in an area of your yard filled with wood chips, but I’m not sure I’d like an oily residue in any area of my yard - especially in flammable CA. Dad uses shop towels (thick blue paper towels you can get at your hardware store) and after they are used for wiping the furniture, lays them out on the driveway to dry until the next trash pick-up. Skipping the wiping step doesn’t work either, as the residue will dry in a tacky layer, and then no one will want to use that furniture.
Dad also recommends applying a layer of epoxy on the bottom face of the feet, to limit any end-grain soaking of water from the resting surface. I did not do this step.
You can really see the difference between oiled and dry furniture, and it really extends the life of your outdoor pieces. You can also see how the used towels are laid out to dry. It looks terrible, but better that than a fire. It might make sense to do your oiling as close to your garbage pick-up as possible.
You also want to make sure to do the oiling a couple of days before a party, as you’ll need time for the wood to fully cure. The brochure says that you can sit on it after 12 hours, but take it from me - a few days is better, and a week is optimal.


