Last year, despite planting two beds of garlic, our harvest was extremely stingy. The bulbs were small and underformed, and while we used it as long as we could, it was a pain to peel and mince. I had trouble with my shallots last year too, so I gave myself a list of to-do items to make sure that this year’s garlic looked great. (The shallots, another story, as they were felled by allium aphids. We’re going to give shallots a pass for the foreseeable future.)
Here’s the my list, which I followed mostly to a T (I’ll explain outliers below): “So, this Fall, here’s what I’m going to do. One, order seed bulbs directly from the grower (Filaree Farms has been recommended to me). Two, I’m going to plant them later, in November rather than October. Three, I’m going to plant less of them, only one bed for shallots and one bed for garlic. Four, before I plant, I’m going to break my no-till rule and make sure the soil is loose and that I’ve added plenty of compost and maybe some grit to increase drainage. Five, I will interplant with crimson clover, which should add a place for the good bugs to proliferate. Six, I will plant them in a place that has more shade in April (and maybe cover them too), and not in the place where I want to put tomatoes next year, which need to go in May 1, which is part of Seven, I will leave them in the ground until June. Eight, I will remove the irrigation lines for the last month of the growing season. Nine, I will make sure they are totally ready before harvesting. Ten, I will cure them differently, in a different place, allowing more airflow and more time (this will be difficult because they need to cure in shade). And finally, I will allow them to cure for longer, and inspect them thoroughly, before I bring them in the house.”
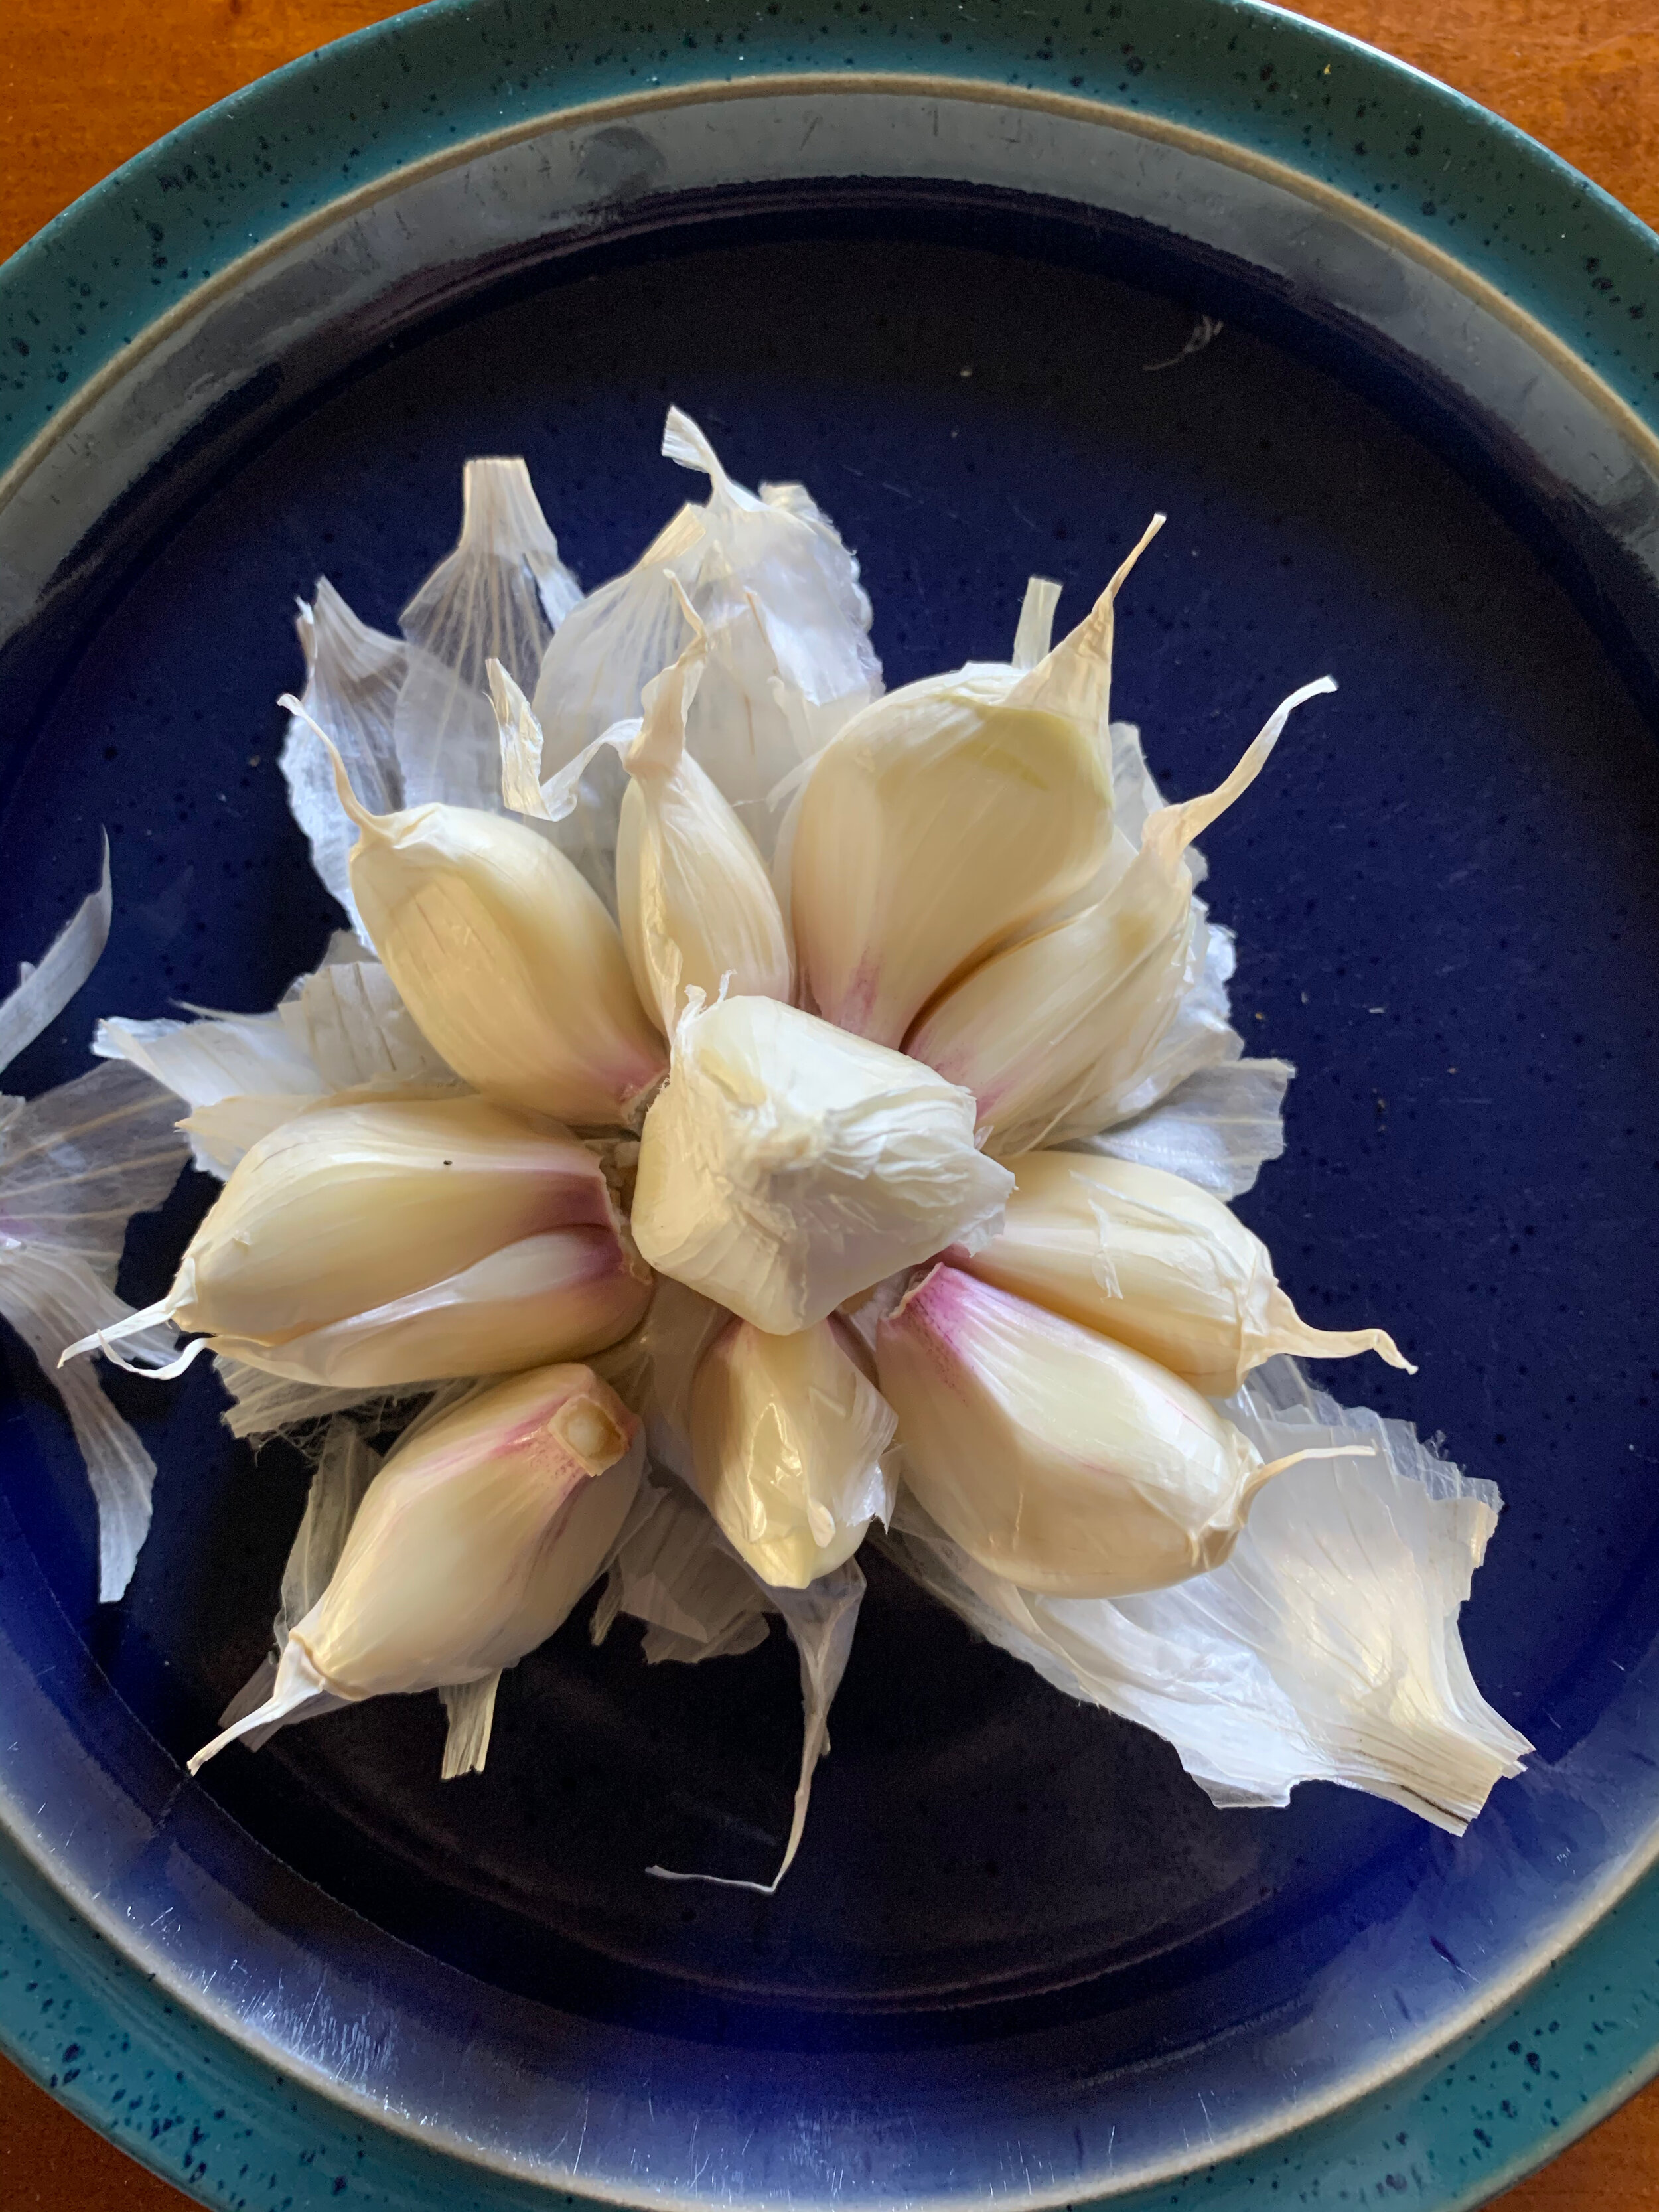
Well, what do you think of this year’s crop? Doesn’t it look marvelous? We yielded about 60 bulbs, enough for one per week with a little extra to either use or save for seed. The bulbs are fat and well-formed, and the individual cloves are huge. The skin is extremely papery, as we dried them in the hanging garage rack for four weeks solid. They were easier to trim and braid. It tastes excellent. In short, even though I harvested it just a touch early, it was a perfect result.
This variety, which we have decided is our favorite of all the kinds we’ve tried, is an heirloom called Inchelium Red. I got the seed garlic from Filaree Farms (and they are already selling for fall delivery, so I would buy now before they run out) up in Oregon.
If I had to choose one thing of the many that I did differently this time, I would say the drying process was the key, and by that I mean two things: Taking the drips off a month before harvesting (to let the bulbs dry out in the ground and start the process) and hanging them vertically on a rack in the hot, dry garage. Our former method of piling them up on top of the chicken coop just didn’t dry them properly. But I’m getting ahead of myself.
I said I followed my ‘proclamation’ mostly to a T. Looking back at my notes, I actually planted the garlic on September 29, a full month earlier than I said I would. But I do remember preparing the bed, because I did something differently - I forked it up (I usually practice no-till), mixing in two inches of compost as well as a large bag of vermiculite. Knowing that I was planting into a location that is soggier than the rest of the garden (I guess it’s a low point of a yard that seems entirely flat), the compost and vermiculite were key to providing good drainage. The location was in the Southern part of a yard under a deciduous tree, so it got full winter sun, as well as late spring shade. We covered it during the winter with Agribon, as we do all our winter crops. The garlic germinated fast in that warm fall weather, and as soon as it had some good growth, I seeded in crimson clover to provide a low cover and extra nutrients. When the cover came off in late winter, the clover took off, and I remember having to pull some of it out, along with some accidental cilantro that I had previously seeded there and that enjoyed growing over winter (this was a great tip for me for following seasons, I do better with cilantro over winter than I do over summer). After clearing out some of that excessive cover crop growth, the garlic grew further. On April 1, I removed the drip lines to begin the drying out process, knowing that we’d have some rain. I harvested the garlic May 22, earlier than my original June 1 goal. Then Tom built me the drying rack for the garlic and it went in the garage that night.
All of these practices allowed for a great harvest, so I shall follow them to the letter again this fall. Again, I am just ridiculously pleased with this harvest, it is the best one we have ever had. We’ve often had more, but never better formed.
Did you grow garlic this past winter? How did it fare? I’d love to know your results.


